


The tin can garden spring flower tutorial
You can pretty-up your lockdown living space with simple spring flowers and foliage from the garden. We’re guessing you have a few tins in your recycling, which you can customise to make vases.
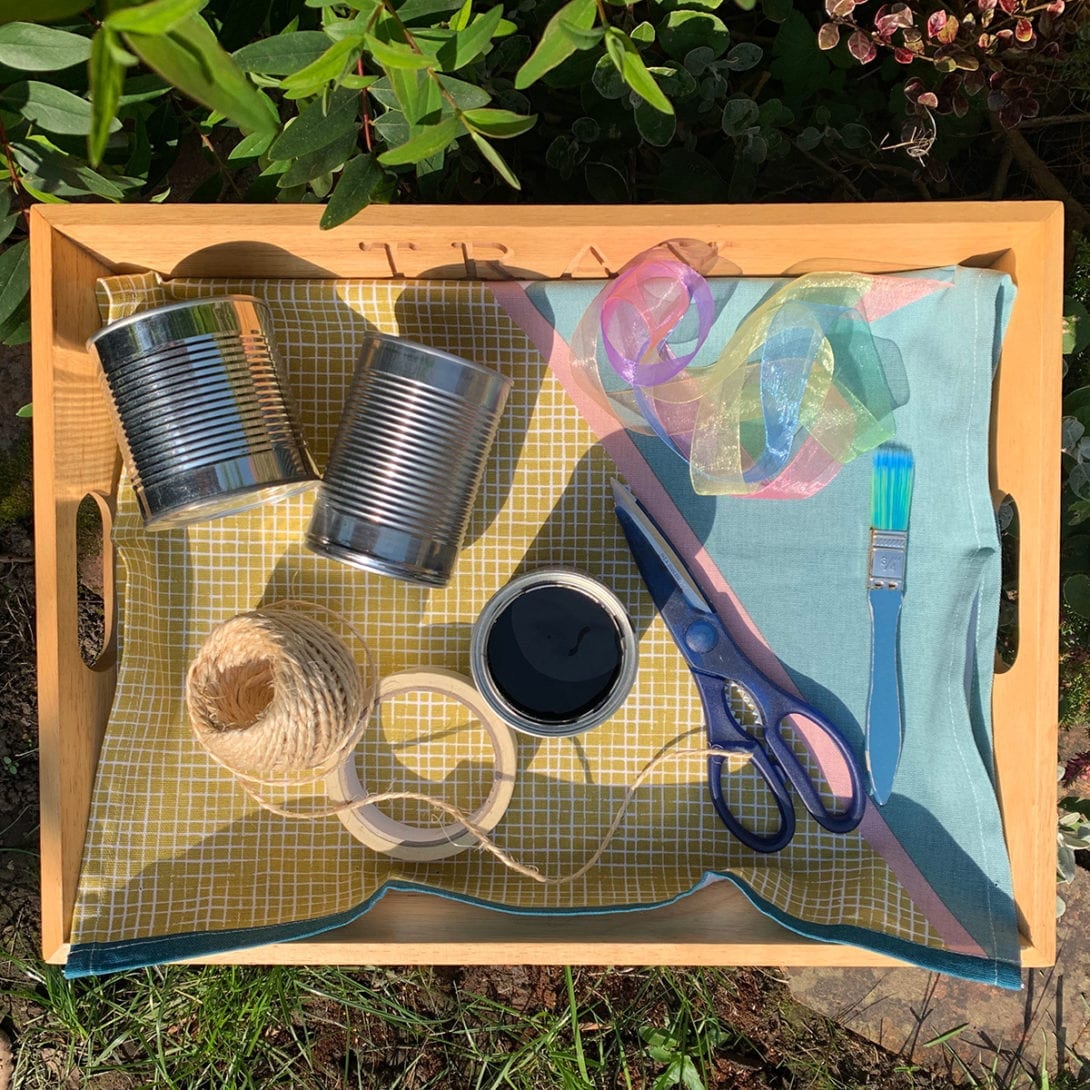
You will need:
- Tin cans
- Sharp scissors
- Household twine
- Spare ribbon
Optional extras
- Paint (we used blackboard paint)
- Paintbrush
- Masking tape
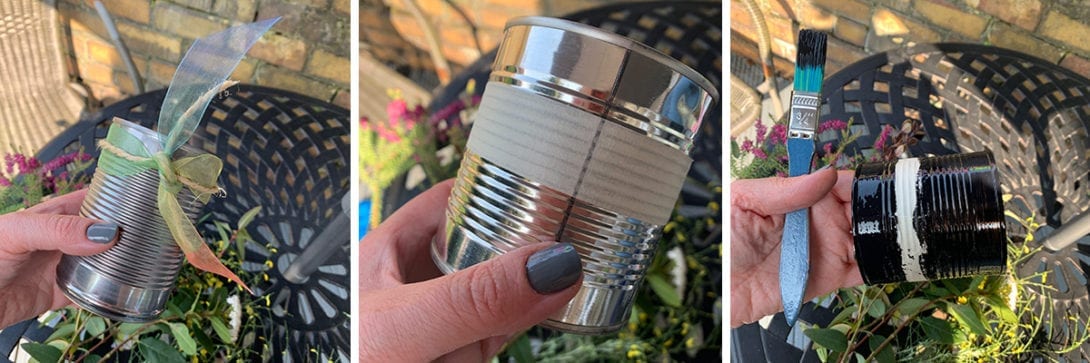
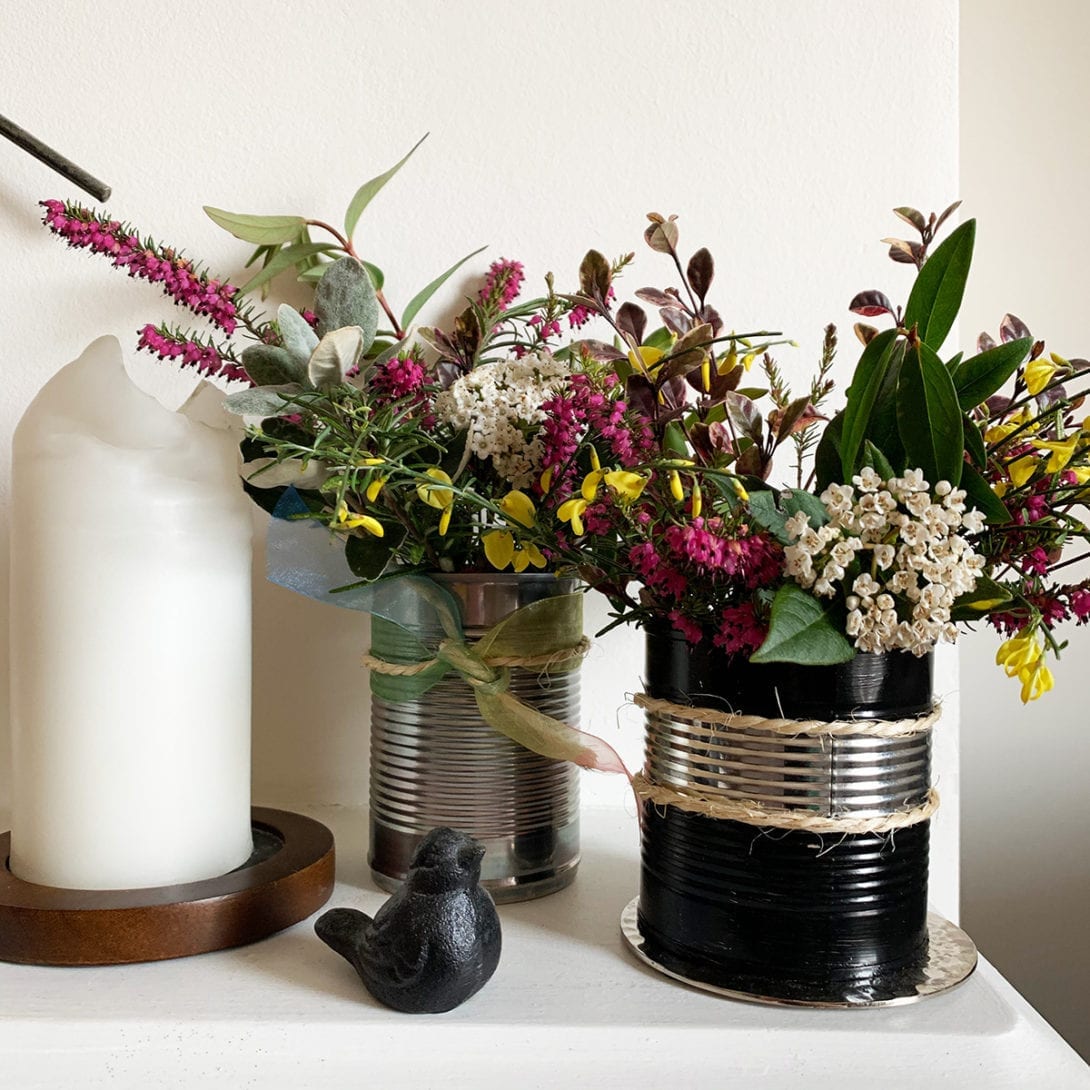
STEP ONE – PREP THE TINS
Make sure the tins are clean and soaked to remove any labels. For a basic decoration, you can tie some layers of ribbon and twine around the tin and knot to fasten. If you have some oil-based paint or blackboard paint in the house, you can create a design on the tin with that. For this design we simply masked off a panel using masking tape then painted the rest of the tin. Once the paint had dried, we removed the tape and fastened some twine around the tin to cover the edge of the paint.
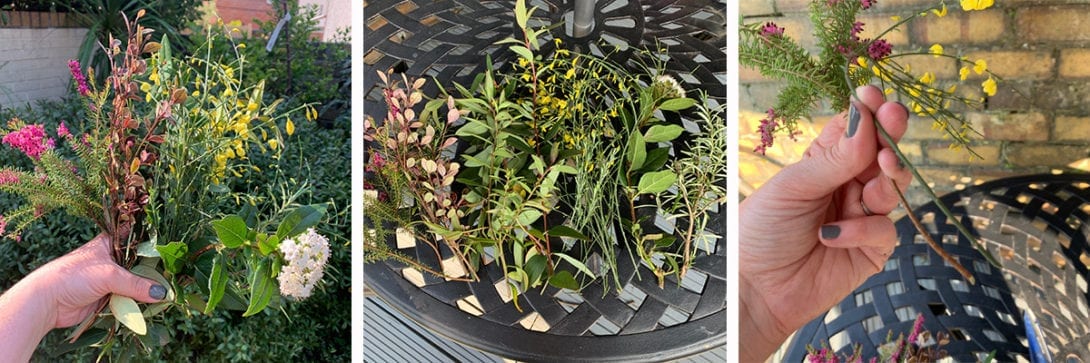
STEP TWO – PICK AND PREP YOUR FLOWERS
Use the scissors to cut lengths of foliage and flower stems from plants in your garden, making sure they are plenty tall enough to use in your tins. Lay the stems out, then go through each one, removing any leaves from the bottom third of the length. This is so that there won’t be any leaves under the waterline once the flowers are arranged.
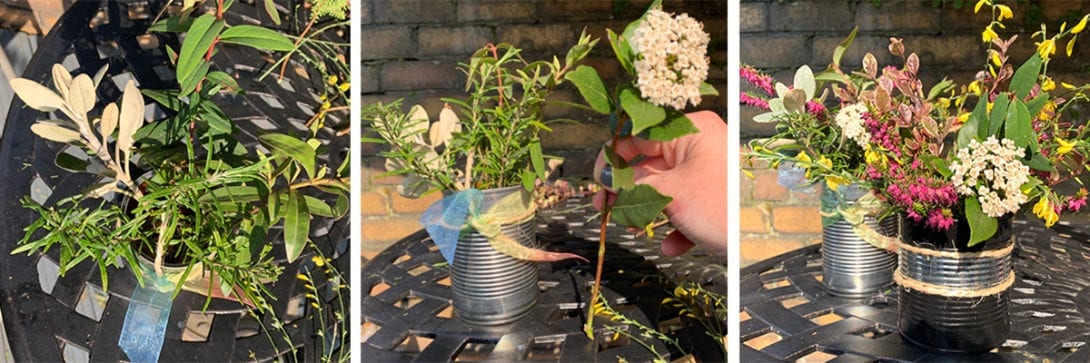
STEP THREE – START ARRANGING
Fill the tins to approximately halfway with water. You want the flowers to have slightly varying heights for interest, but not so different that they feel disconnected. It’s a good idea to start with the greenery as that’s like the backdrop to the whole arrangement. Then work with the flower shapes and colours you have, slotting in flower heads at a height where they can nestle in nicely next to others, and allowing foliage to rise above the flowers. Cut stems to length as you go along, always snipping on a 45 degree angle. It’s a good idea to stand stems next to the tins so you can see what height they will be when placed, and then you can cut them if you need to.

News & What's On
Competitions
Newsletter
Buy your Gift Card Online today!
Buy your Princesshay Gift Card online today!
Click & Collect Services
Find out which stores in Princesshay offer click and collect by clicking here.